Starting the Installation
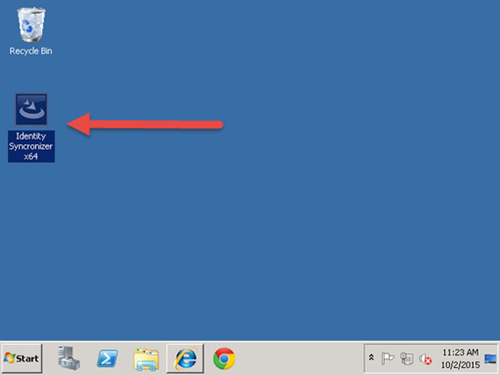
Run the Identity Syncronizer® installer executable on the machine that will host the Identity Syncronizer® service. If this is a 32-bit machine run "Identity Syncronizer x86.exe", if it is a 64-bit, then run "Identity Syncronizer x64.exe".
Environment Checker
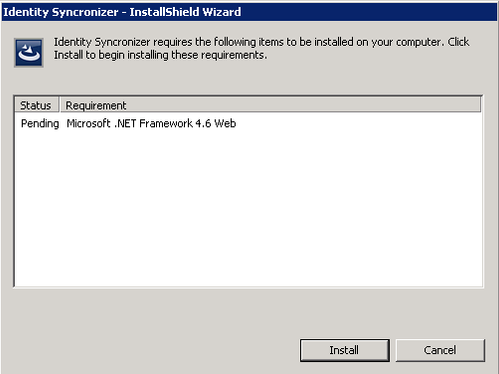
Before the installation starts, the IDSync® Installer will run an environment check to verify if the environment is suitable for Identity Syncronizer® to run.
· If not present, the installer will ask for the Microsoft .NET Framework 4.6 to be installed:
Click the "Install" button to start installing the .NET Framework.
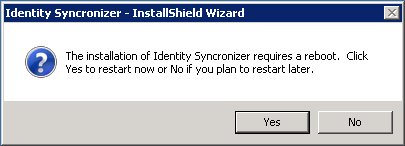
Please, be advised that it’s possible that this process requires a reboot.
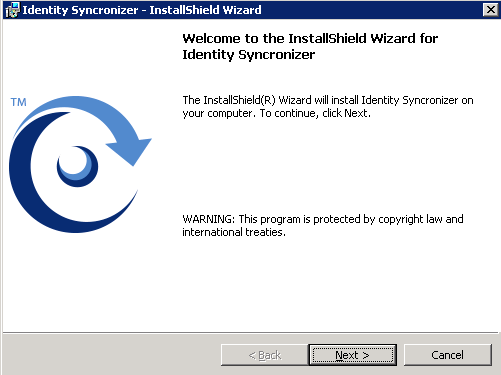
After this, the install process of the Identity Syncronizer® will start:

Click "Next" on the installer welcome screen.
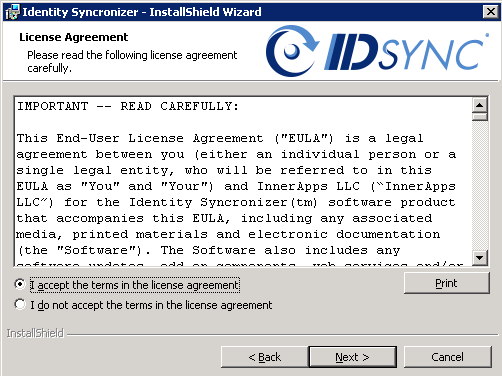
Read and Accept the terms in the License Agreement.
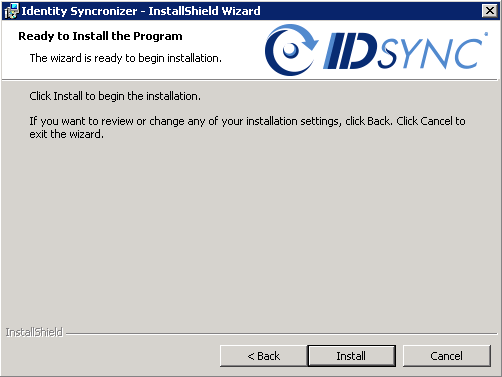
Click "Install" on the ‘Ready to Install the Program’ screen:
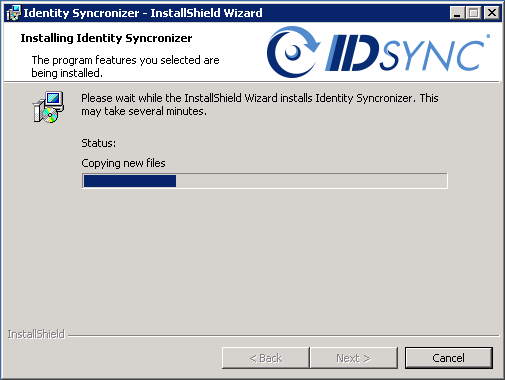
So the Installer will start copying the required files
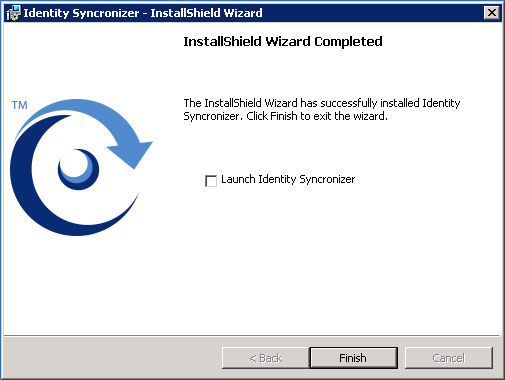
Click "Finish" on the 'Install Wizard Completed' screen.
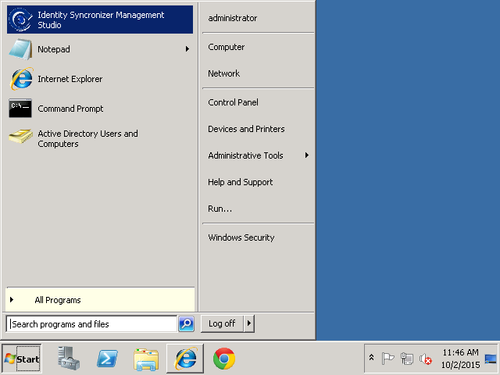
Once the installation is complete open the "Identity Syncronizer Management Studio" from the start menu.