Starting the Installation
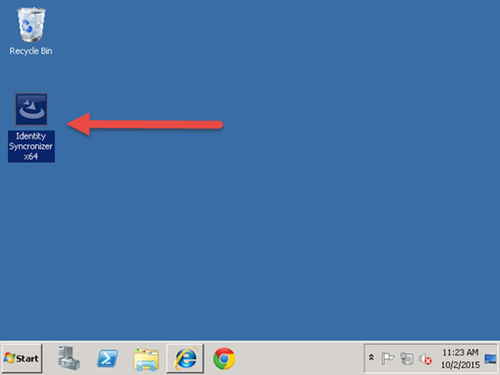
Run the Identity Syncronizer® installer executable on the machine that will host the Identity Syncronizer® service. If this is a 32-bit machine run "Identity Syncronizer x86.exe", if it is a 64-bit, then run "Identity Syncronizer x64".
Environment Checker
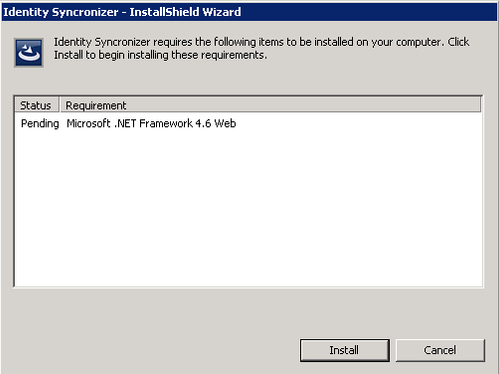
Before the installation starts, the IDSync® Installer will run an environment check to verify if the environment is suitable for Identity Syncronizer® to run.
· If not present, the installer will ask for the Microsoft .NET Framework 4.6 to be installed:
Click the "Install" button to start installing the .NET Framework.
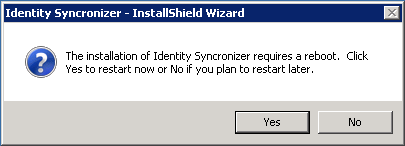
Please, be advised that it’s possible that this process requires a reboot.
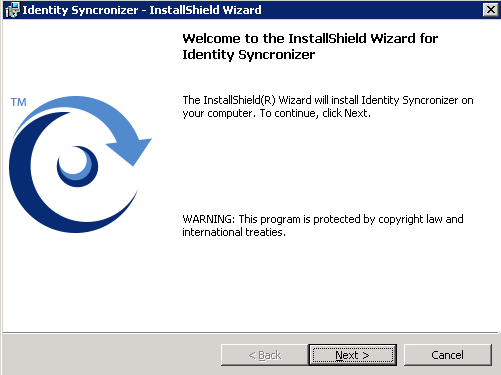
After this, the install process of the Identity Syncronizer® will start:
Click "Next" on the installer welcome screen.
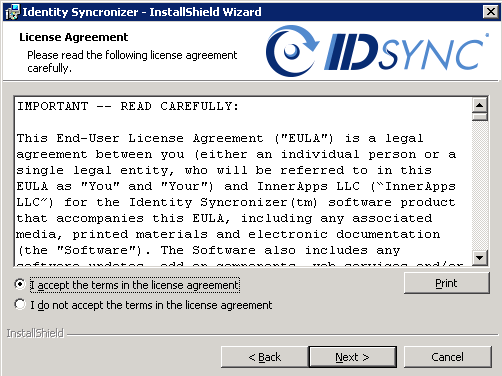
Read and Accept the terms in the License Agreement.
Click "Install" on the ‘Ready to Install the Program’ screen:

NOTE: IDSync incorporated a SQL Server installer into its product as of version 4.1.46 as a convenience for its customers. The following section of this document shows the method for installing SQL Server using Version 4.1.46 of IDSync. If you are installing an earlier version of IDSync, you will need to manually install a SQL Server prior to continuing with the IDSync installation. IDSync's installer will not perform the SQL Server installation in any version prior to 4.1.46. Please refer to the System Requirements page of this documentation for the SQL Server configuration requirements. You will be prompted for SQL Server connection information when you first launch the Identity Syncronizer Management Console.
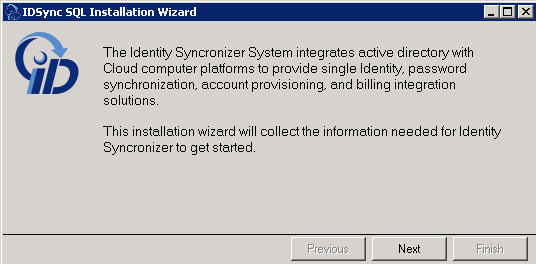
SQL Server Configuration
The installer will now look for a SQL Server Instance or will assist you with the installation process of a new SQL Server Express Edition.
Please, click Next to start this process:
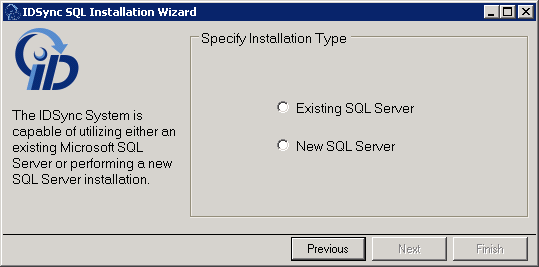
Specify whether there’s an existing SQL Server instance that you want to use or there is going to be a New SQL Server Installation (local instance), and click ‘Next’:

- If you choose to use an Existing SQL Server, then fill in the fields with the proper information to configure the connection settings for the Identity Syncronizer:
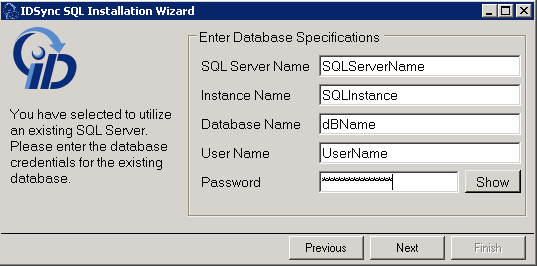
After this, click Finish to start the installation process:
- Otherwise, if you specify that a New SQL Server is going to be installed, click ‘Next’ to start the Install and Configuration Process:

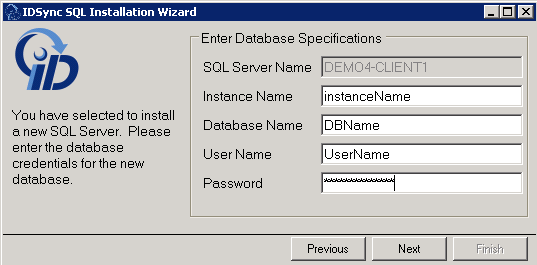
You’ll be prompted to fill in the Specifications for the New Database that will be installed:
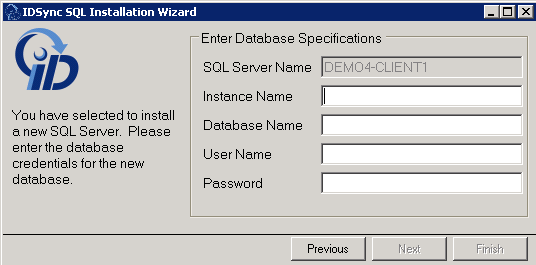
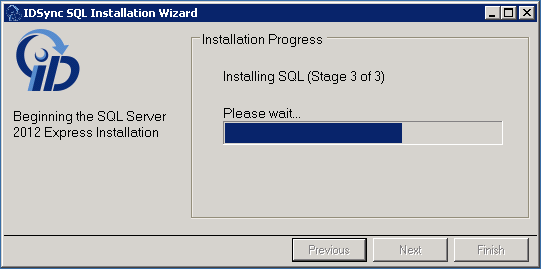
Press ‘Next’ to start the SQL Server Installation Process:
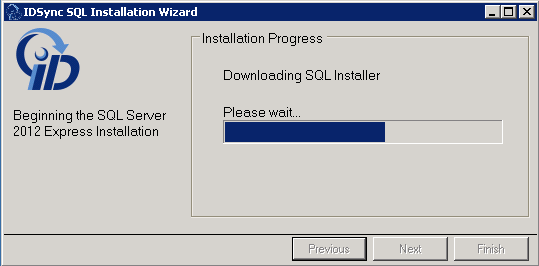
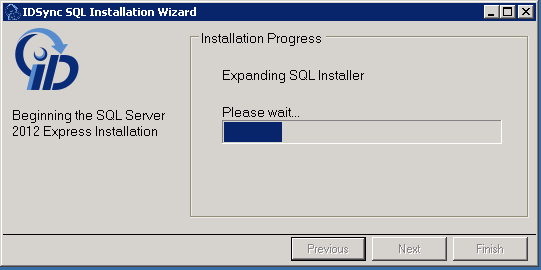
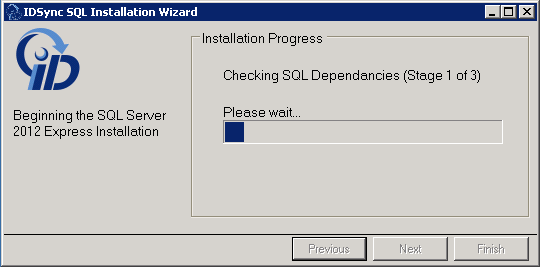
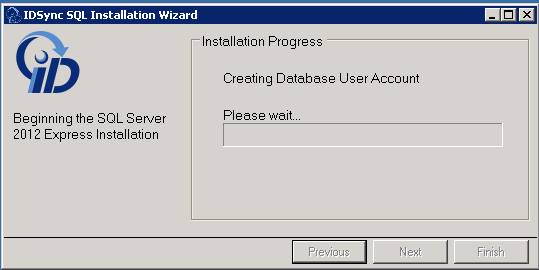
With the Installation Wizard, you will be able to follow the entire process:

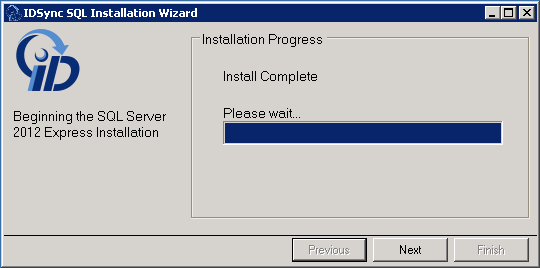
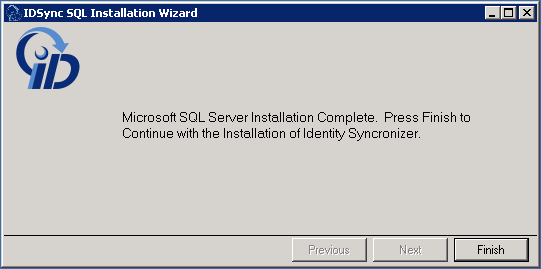
Click "Finish" on the Install Wizard to continue with the Installation of Identity Syncronizer®.

The Identity Syncronizer Install will then continue
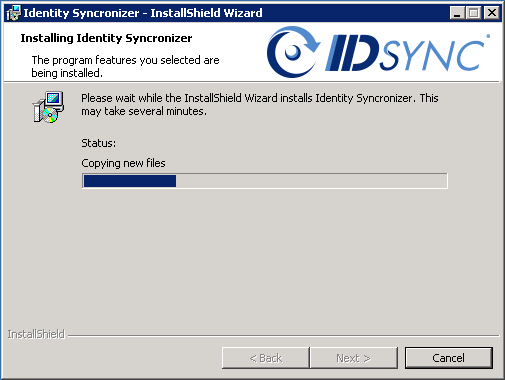
Click "Finish" on the 'Install Wizard Completed' screen.
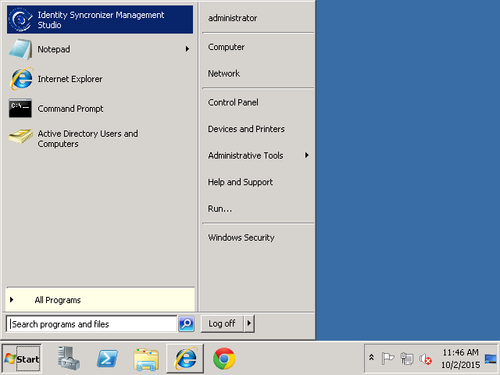
Once the installation is complete open the "Identity Syncronizer Management Studio" from the start menu.