When the Identity Syncronizer® Management studio is run for the first time the connection to the SQL server will be configured (from the settings in the installation process).
If these settings need to be checked or changed, click on the 'Connection' button (top-left corner of the Management Studio), to open the 'Identity Synchronizer® Database Connection' window:
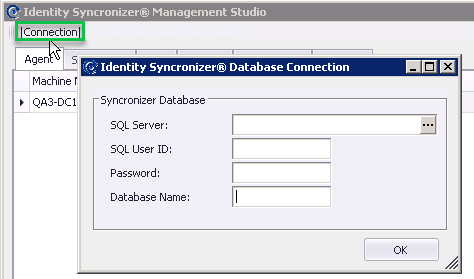
Enter the necessary SQL Server Information in the dialog above.
Tips :
Do not use "localhost" to refer to the SQL Server location. Either use the hostname or IP Address to refer to the SQL Server host.
Identity Syncronizer® uses a SQL server user name and password combination, so Mixed mode Authentication need to be enabled.
Identity Syncronizer® also communicates with SQL server via TCP/IP and Named Pipes, so these protocols need to be enabled.
Identity Syncronizer® uses the SQL Server Browser service, so ensure that it is enabled and started.
The database specified in the "Database Name" field will be automatically created by Identity Syncronizer, so the SQL Server User specified in this configuration screen needs to have permissions to create databases on the SQL server.
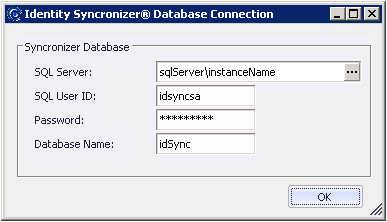
Once the SQL connection data has been entered click on the ellipses (…) button to test the connection. If the connection is successful click the "OK" button to continue configuration.
...
| Include Page | ||||
|---|---|---|---|---|
|