Run the Identity Syncronizer® installer executable on the machine that will host the Identity Syncronizer® service. If this is a 32-bit machine run "Identity Syncronizer x86.exe", if it is a 64-bit, then run "Identity Syncronizer x64".

Environment Checker
Before the installation starts, the IDSync® Installer will run an environment check to verify if the environment is suitable for Identity Syncronizer® to run.
· If not present, the installer will ask for the Microsoft .NET Framework 4.6 to be installed:
Click the "Install" button to start installing the .NET Framework.

Please, be advised that it’s possible that this process requires a reboot:

After this, the install process of the Identity Syncronizer® will start:

Click "Next" on the installer welcome screen.

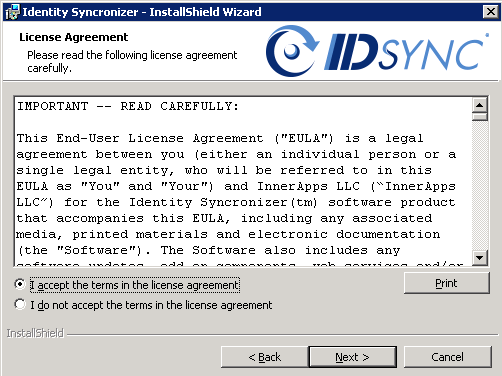
Read and Accept the terms in the License Agreement.
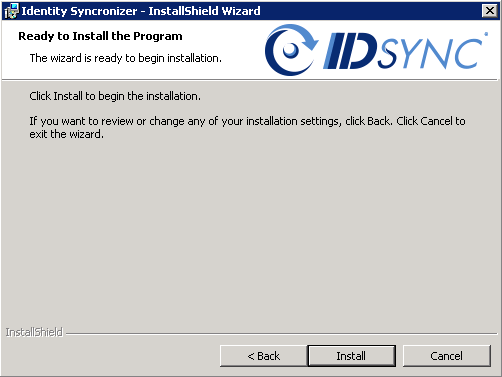
Click "Install" on the ‘Ready to Install the Program’ screen:.
SQL Server Configuration
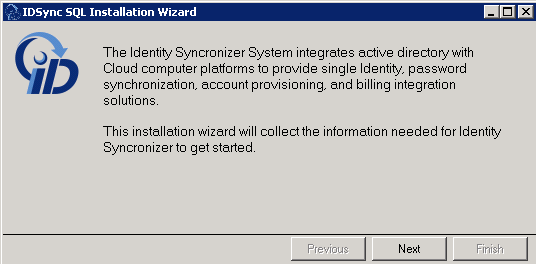
The installer will now look for a SQL Server Instance or will assist you with the installation process of a new SQL Server Express Edition.
Please, click Next to start this process:

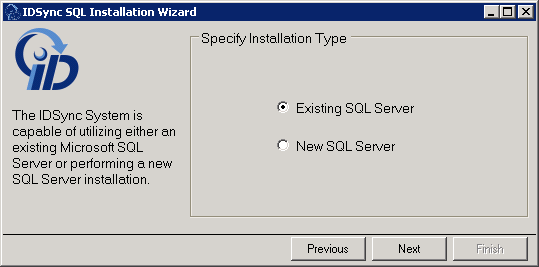
Specify whether there’s an existing SQL Server instance that you want to use or there is going to be a New SQL Server Installation (local instance), and click ‘Next’:
- If you choose to use an Existing SQL Server, then fill in the fields with the proper information to configure the connection settings for the Identity Syncronizer:

After this, click Finish to start the installation process:

- Otherwise, if you specify that a New SQL Server is going to be installed, click ‘Next’ to start the Install and Configuration Process:

You’ll be prompted to fill in the Specifications for the New Database that will be installed:

Press ‘Next’ to start the SQL Server Installation Process:

With the Installation Wizard, you will be able to follow the entire process:


Click "Finish" on the Install Wizard to continue with the Installation of Identity Syncronizer®.

The Identity Syncronizer Install will then continue

Click "Finish" on the 'Install Wizard Completed' screen.

Once the installation is complete open the "Identity Syncronizer Management Studio" from the start menu.
