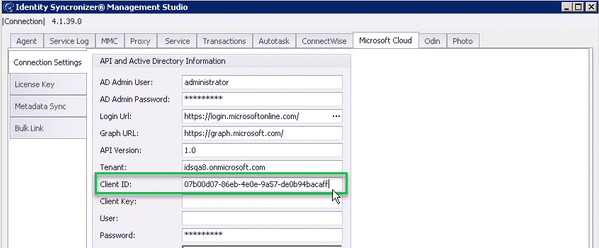
Configuration for Microsoft Cloud (O365/Azure)
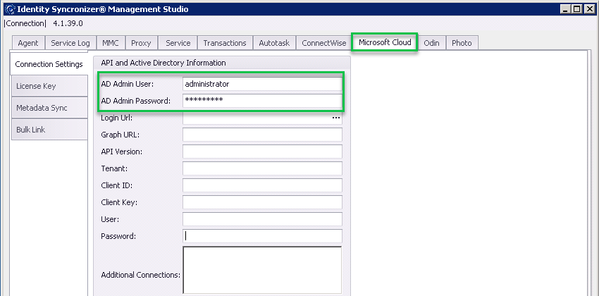
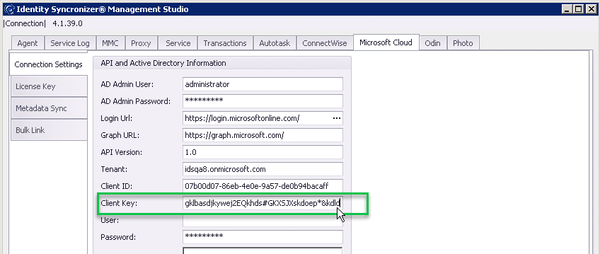
Open the Identity Syncronizer® Management Studio, and look for the 'Microsoft Cloud' tab
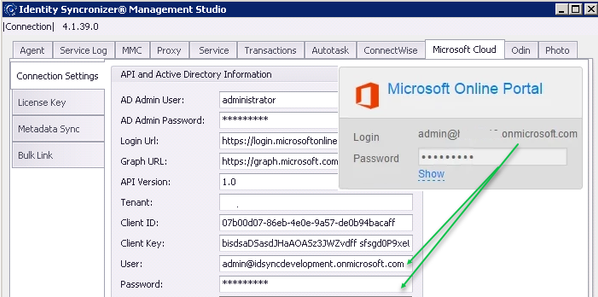
1.- Insert a user name and password for a local AD administrator in the “AD Admin User” and “AD Admin Password” fields
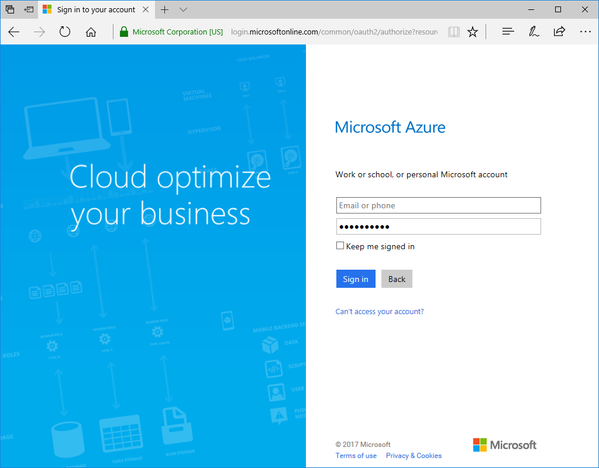
2.- Log into Azure using the credentials provided in the Odin Control Panel
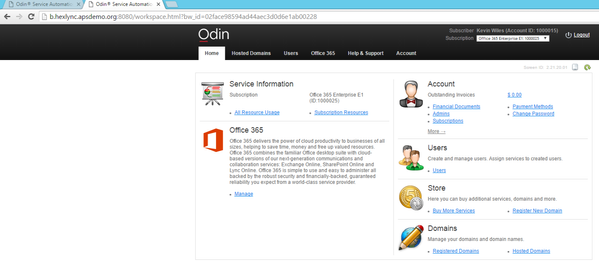
Log into the CCP
Click on the Office 365 tab, and, click on the “show” link to see the password :
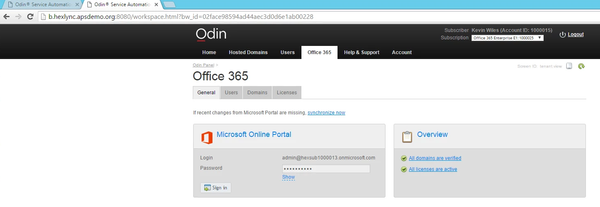
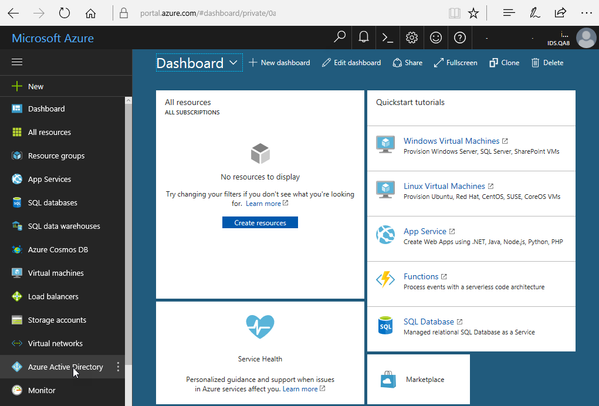
Then, use those credentials to log into Azure (https://portal.azure.com)
Click on “Azure Active Directory”
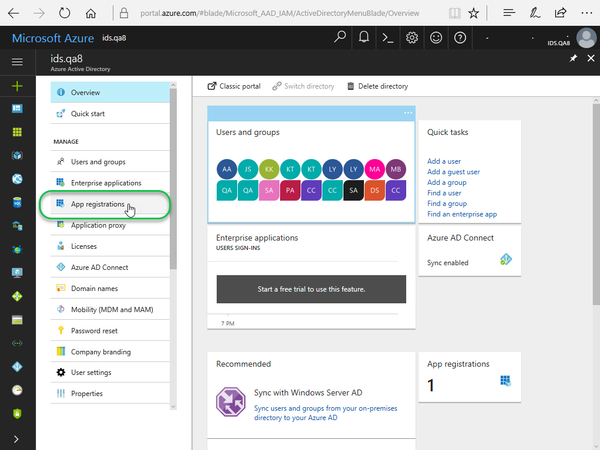
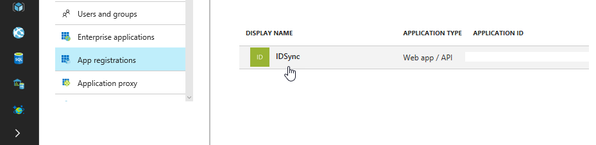
Click on “App registrations”
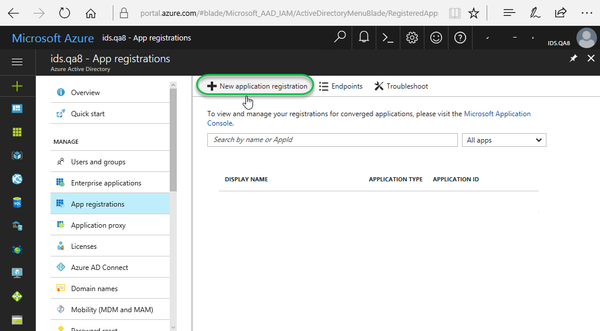
Click on “New Application registration” near the top of the screen
Enter the following information for the application
Name: can be anything, for ease of identification “IDSync” is recommended
ApplicationType: Web app / API
Sign-on URL: https://idsync.com
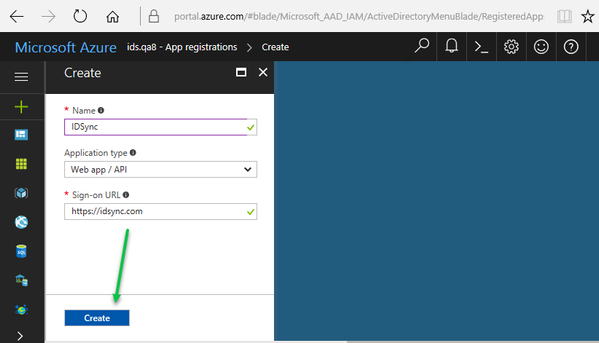
Click on the “Create” button
Click on the newly created application
The value in the "Application ID" field will be used in the Identity Syncronizer Management Studio configuration
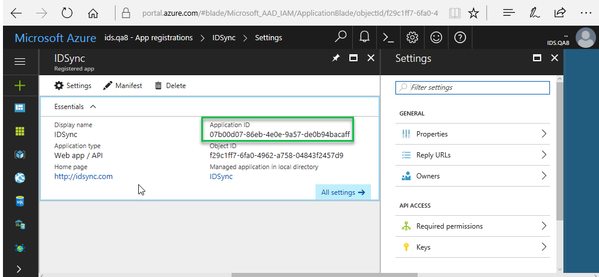
To populate the “Client ID” field in the "Microsoft Cloud" tab
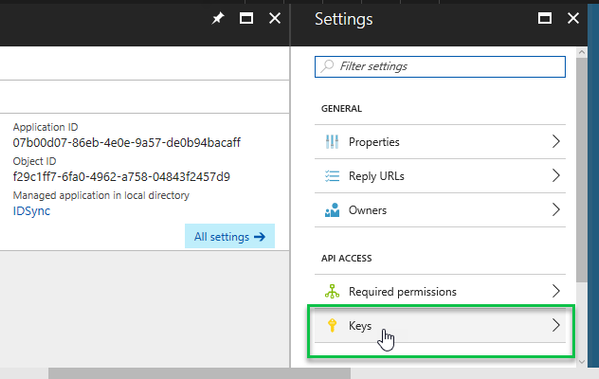
Then, create a key for the application
Click on “keys”
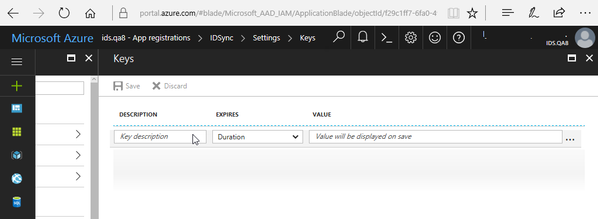
Enter the following data
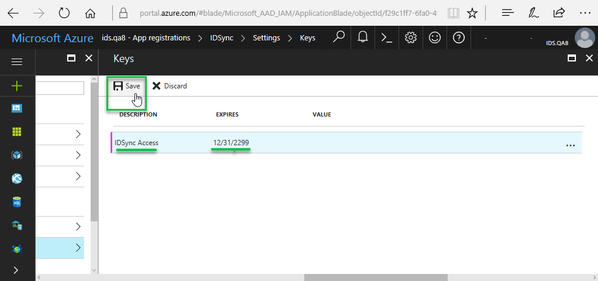
Key description: any text can be entered here, “IDSync Access” recommended
Duration: any of the values can be used. If any value other than “Never Expires” is chosen a new key will need to be generated after this key expires
And, click on the “Save” button (this will fill in the key value field)
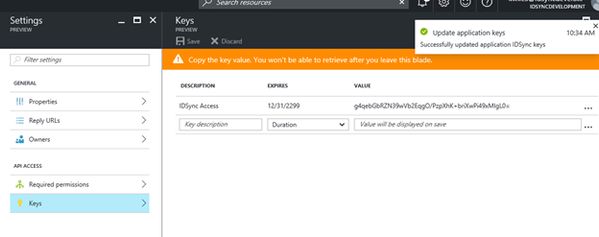
Copy the value and insert it in the “Client key” field in the Identity Syncronizer® configuration
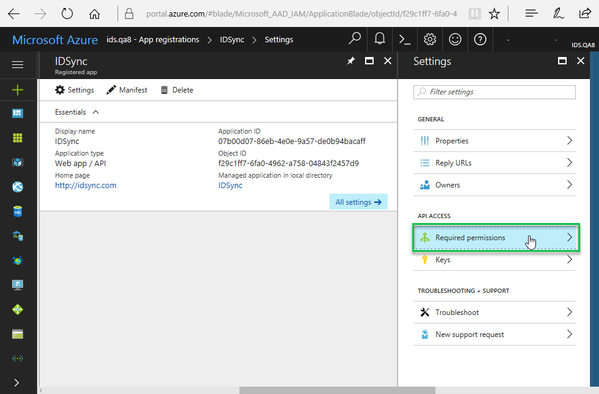
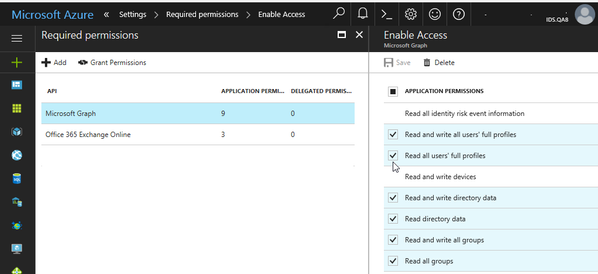
Click on “Required Permissions”
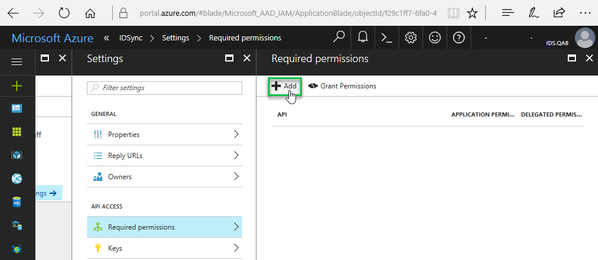
Click “add” to allow API access
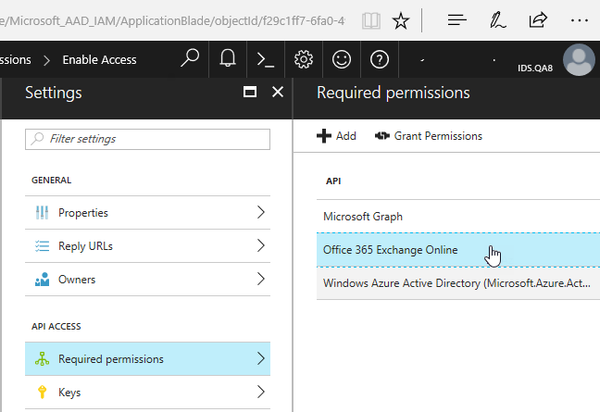
Select the following APIs and Permissions
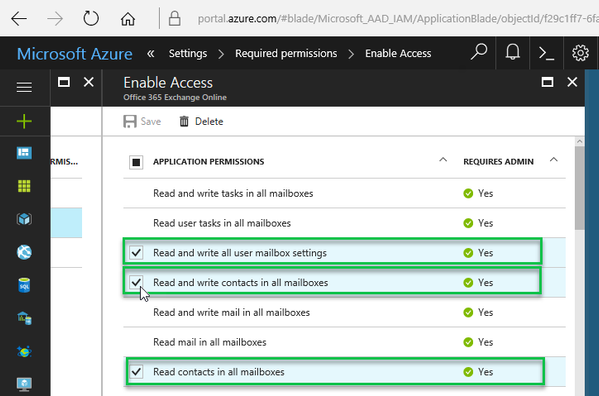
API: Office 365 Exchange Online
Permissions: Read contacts in all mailboxes, Read and write contacts in all mailboxes, Read and write all user mailbox settings
API: Microsoft Graph
Permissions : Read all hidden memberships, Read all groups, Read and Write all groups, Read Directory Data, Read and write directory data, Read All users’ full profiles, and, Read and Write all users’ full profiles
Now, go back to the Identity Syncronizer® Management Studio
And, enter the O365 administrator user name and password (from the Odin control panel) in the IDSync configuration
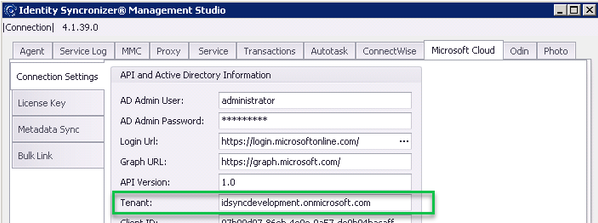
Enter the tenant name for the O365 tenant in the “tenant” field – this will generally be the text after the “@” of the user name. In this example , this would be “idsyncdevelopment.onmicrosoft.com”
Click the “apply” button to save these configurations
Run the following commands in powershell – “b1f6d042-8c09-4227-9996-5e16a3086d54” is the client Id entered in the IDSync configuration
$msolcred = get-credential
connect-msolservice -credential $msolcred
Get-MsolServicePrincipal -AppPrincipalId b1f6d042-8c09-4227-9996-5e16a3086d54

Copy the object id from the output (a321047c-0e28-4f32-9dba-726dae4834de) and run the following PowerShell command to give the IDSync application the privileges it needs:
add-msolrolemember -RoleName "User Account Administrator" -RoleMemberType ServicePrincipal -RolememberobjectId a321047c-0e28-4f32-9dba-726dae4834de