Manually install the MMC Components
Step-by-step guide
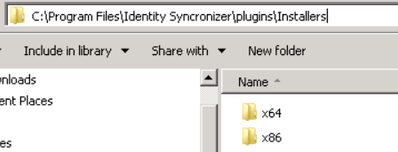
- From the PC running the IDSync console app, Copy the .msi file from ‘c:\program files\identity syncronizer\plugins\installers\’ to the PC using ADUC that is not a DC
See there’s a 64bit installer and a 32bit (so, it depends on the windows version you’ll be installing onto).
2. Run the installer by launching an Administrator command prompt and type idsync.msi
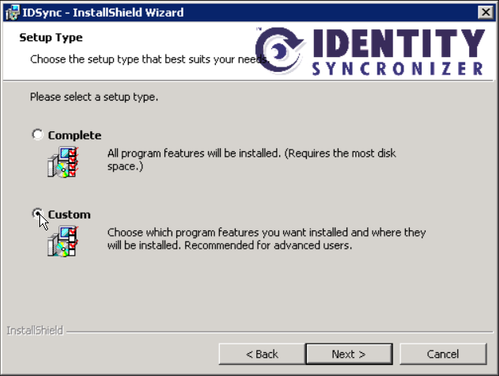
3. Choose the Custom setup type
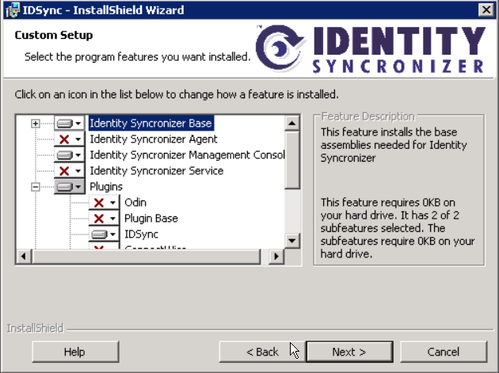
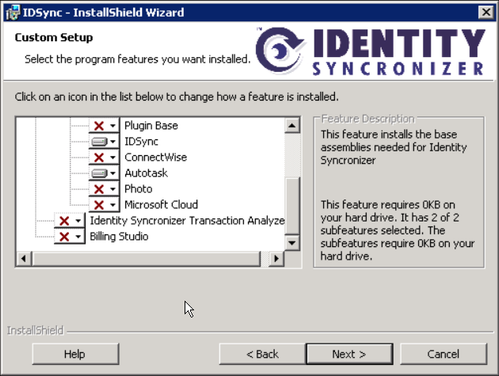
4. Select ONLY the following components : Identity Syncronizer Base, Identity Syncronizer Management Console, Plugins>IDSync, Plugins>Autotask.
(for plugins choose the one that matches your installation, in this case Autotask was used as an example)
5. Click Next and let the installer run.
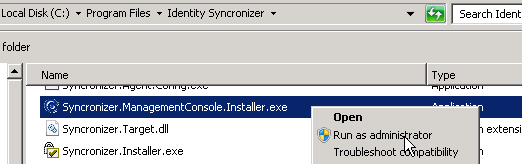
6. Go to the ‘c:\program files\identity syncronizer’ folder
- Critical step: verify that the ADUC utility is closed and not open by any user session on the computer
7. Look for and Run as administrator the “Syncronizer.ManagementConsole.Installer.exe” file
8. Confirm the ‘Enable AD Users…’ checkbox is checked, and click Ok
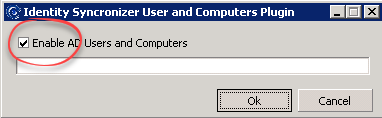
9. Wait for the installer to finish, then click OK to close the window.
10. Launch ADUC and open a user account. It should open without error and contain a tab reflecting the connector selected during install. In this case Autotask.
Related articles